AnimatedContainer
AnimatedContainer
「AnimatedContainer」は指定した期間に対して徐々に値を変更するコンテナです。
対象の値を変更した時に自動で、そのプロパティの新旧の値間でアニメーションをしてくれます。
コンテナに備わっている値を変えるだけで様々なアニメーションを作れるのでとても便利なウィジェットです。 実際のアニメーションを作る前に押さえておきたい2つのことに関して先に説明します。
Duration
「AnimatedContainer」には時間を制御するdurationが設定できます。
これは、アニメーションが変化するのにかかる時間を指定します。
例えば開始から、完了まで1秒間で完了させる場合はduration: Duration(seconds: 1)と設定することで時間を設定できます。
「Duration」は以下のように、日付から~マイクロ秒までを設定できます。
  const Duration(
      {int days: 0,
      int hours: 0,
      int minutes: 0,
      int seconds: 0,
      int milliseconds: 0,
      int microseconds: 0})
Curve
「AnimatedContainer」にはアニメーションの仕方を制御するcurveが設定できます。curveには「Curves」のプロパティをcurve:Curves.linearのように設定します。
この「Curves」は多岐に渡り様々なアニメーションを作成することが可能です。
公式のページにて詳細な動きについて説明がされているので、参照してみてください。
色の変更
色の変更は以下のように行います。
class _MainPageState extends State<MainPage> {

  Color _color = Colors.blue[100];

  void _onTap() => setState(() => _color = Colors.blue[900]);

  Widget build(BuildContext context) {
    return Scaffold(
      appBar: AppBar(
        title: const Text('AnimatedContainer'),
      ),
      body: AnimatedContainer(
        color: _color,
        duration: Duration(seconds: 1),
        width: 100,
        height: 100,
      ),
      floatingActionButton: FloatingActionButton(onPressed: _onTap),
    );
  }
}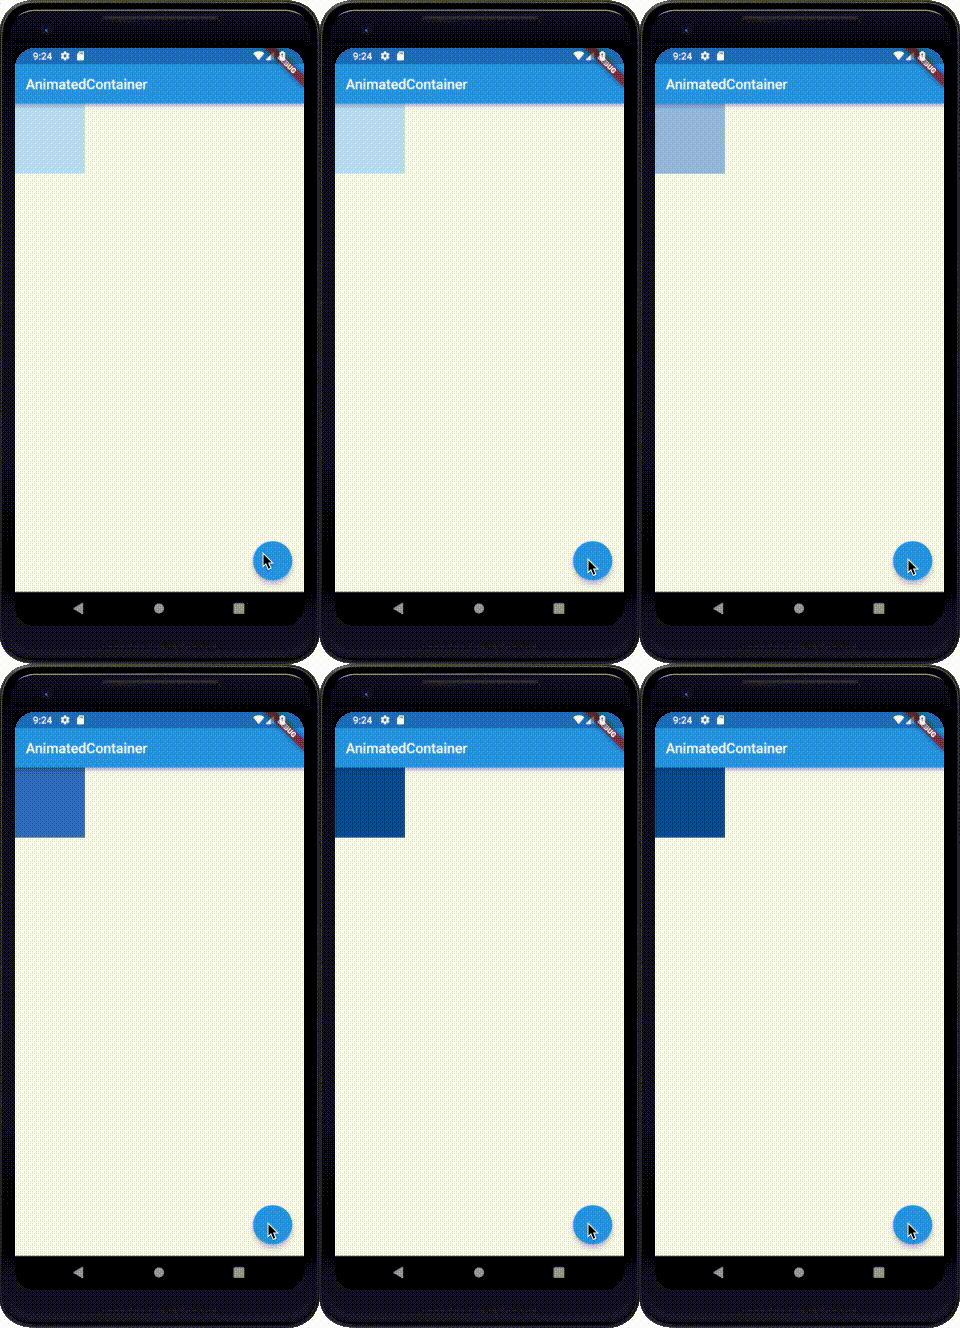
colorは色を設定します。
「AnimatedContainer」のcolorを動的に変更することで、色が変化するアニメーションを作成できます。
画面右下の「FloatingActionButton」を押すと、_onTapが動作し、色を100から900へ変更しています。
floatingActionButtonについてはこちら
サイズの変更
サイズの変更は以下のように行います。
class _MainPageState extends State<MainPage> {

  double _width = 100;

  void _onTap() => setState(() => _width = 200);

  Widget build(BuildContext context) {
    return Scaffold(
      appBar: AppBar(
        title: const Text('AnimatedContainer'),
      ),
      body: AnimatedContainer(
        width: _width,
        height: 100,
        duration: Duration(seconds: 1),
        color: Colors.orange,
      ),
      floatingActionButton: FloatingActionButton(onPressed: _onTap),
    );
  }
}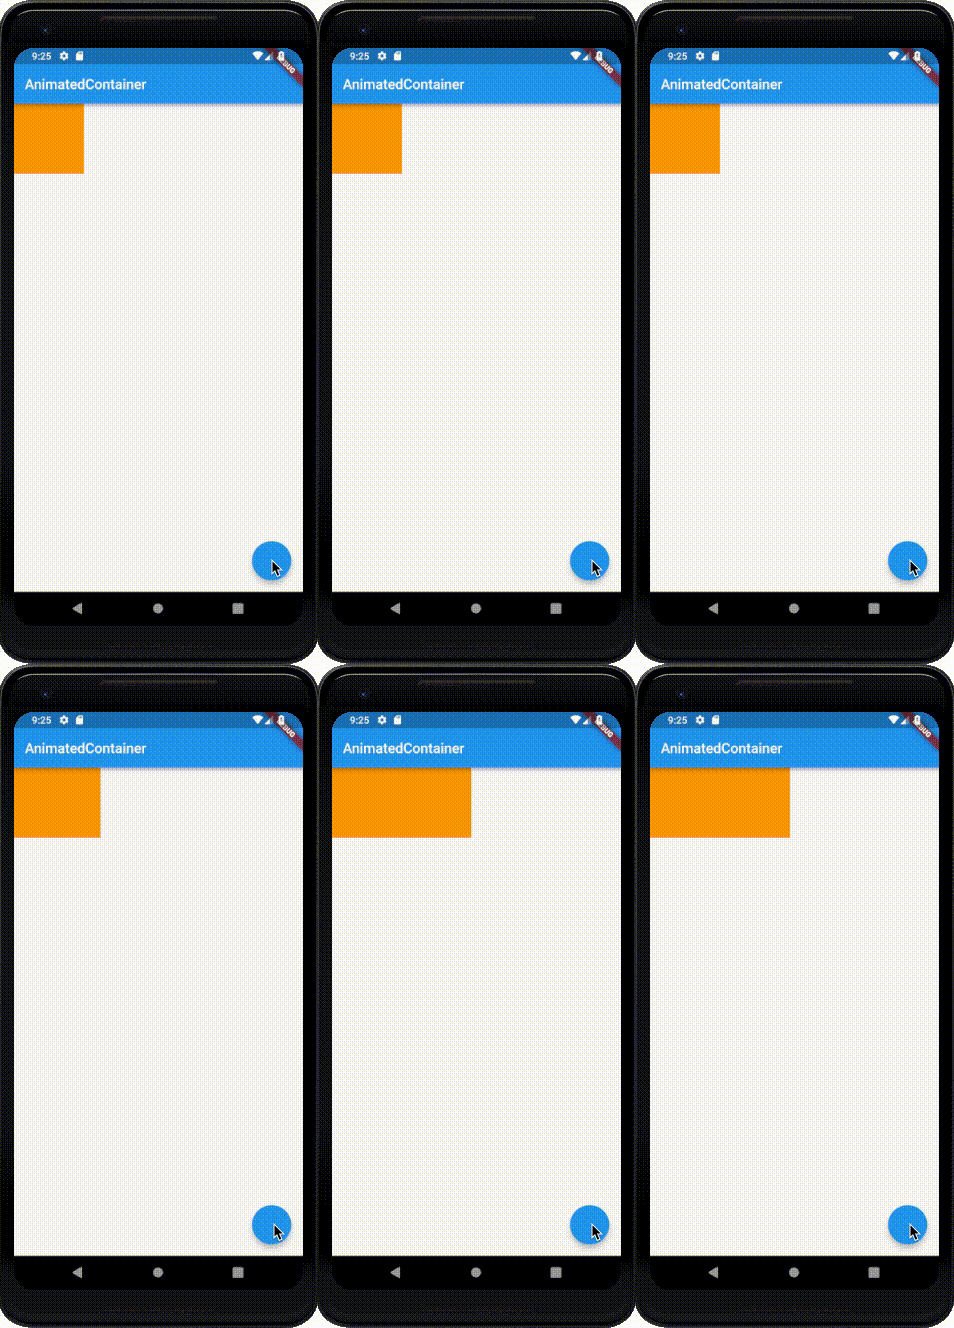
widthは横幅のサイズを設定します。heightは縦幅のサイズを設定します。
「AnimatedContainer」のwidthやheightを動的に変更することで、大きさを変えるアニメーションを作成できます。
画面右下の「FloatingActionButton」を押すと、_onTapが動作し、横幅を100から200へ変更しています。
これは高さでも同じで、高さの数値を動的に変更することでアニメーションさせることが可能です。
配置の変更
配置の変更は以下のように行います。
class _MainPageState extends State<MainPage> {

  Alignment _alg = Alignment.topLeft;

  void _onTap() => setState(() => _alg = Alignment.bottomRight);

  Widget build(BuildContext context) {
    return Scaffold(
      appBar: AppBar(
        title: const Text('AnimatedContainer'),
      ),
      body: AnimatedContainer(
        alignment: _alg,
        duration: Duration(seconds: 1),
        color: Colors.blueAccent,
        child:Container(
          width: 100,
          height: 100,
          color: Colors.orange,
        ),
      ),
      floatingActionButton: FloatingActionButton(onPressed: _onTap),
    );
  }
}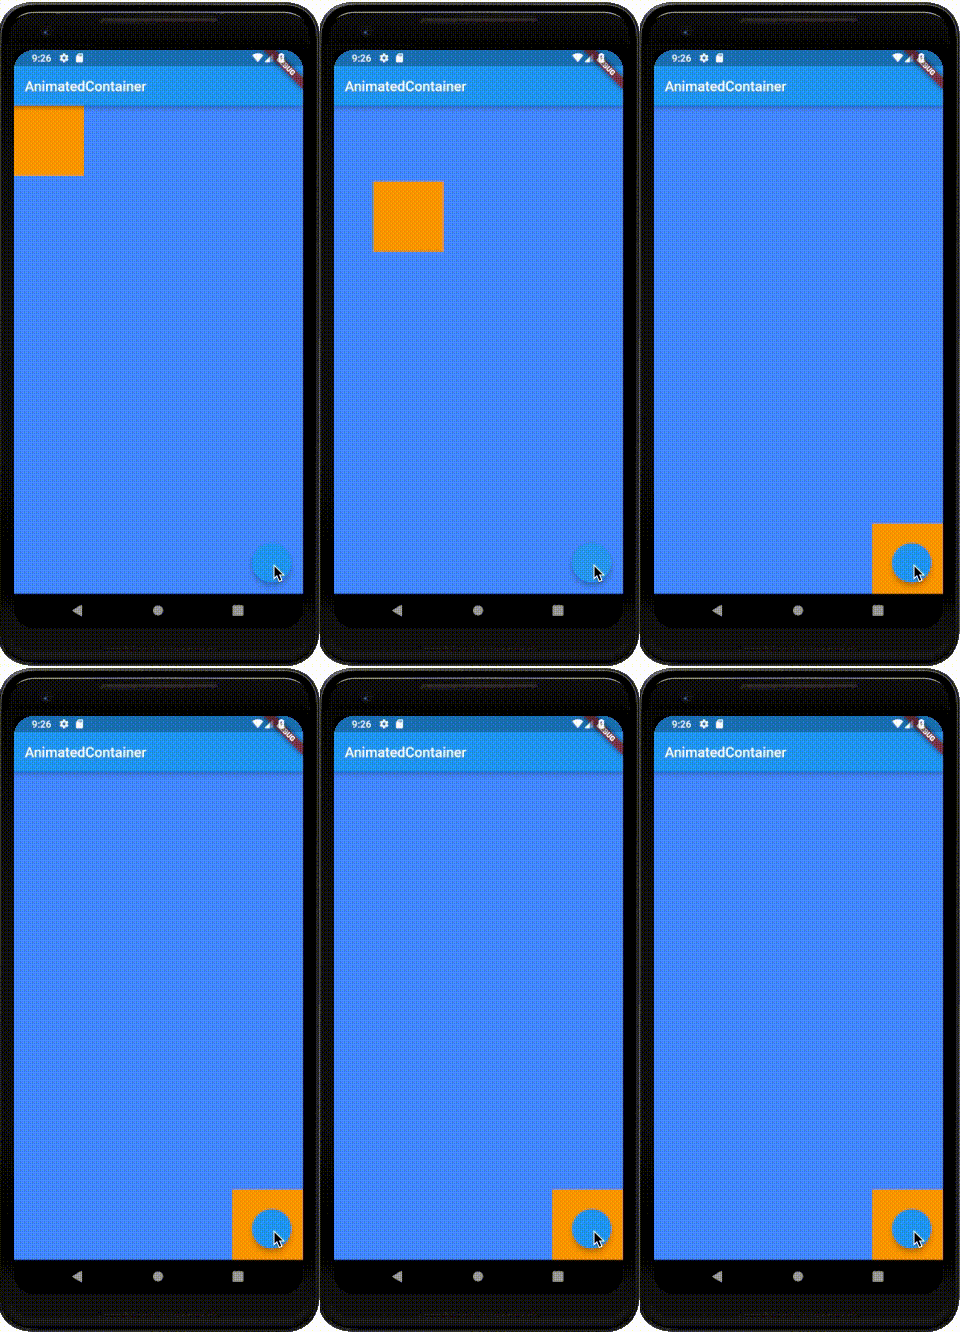
alignmentは画面内の配置位置を設定します。
「AnimatedContainer」のalignmentを動的に変更することで、「AnimatedContainer」内のウィジェットの配置を変えるアニメーションを作成できます。
画面右下の「FloatingActionButton」を押すと、_onTapが動作し、子要素をAlignment.topLeftからAlignment.topRightへ変更しています。
Padding
Paddingの変更は以下のように行います。
class _MainPageState extends State<MainPage> {

  double _padding = 20;

  void _onTap() => setState(() => _padding = 50);

  Widget build(BuildContext context) {
    return Scaffold(
      appBar: AppBar(
        title: const Text('AnimatedContainer'),
      ),
      body: AnimatedContainer(
        width: 200,
        height: 200,
        color: Colors.blueAccent,
        padding: EdgeInsets.all(_padding),
        duration: Duration(seconds: 1),
        child: Container(
          width: 10,
          height: 10,
          color: Colors.orange,
        )
      ),
      floatingActionButton: FloatingActionButton(onPressed: _onTap),
    );
  }
}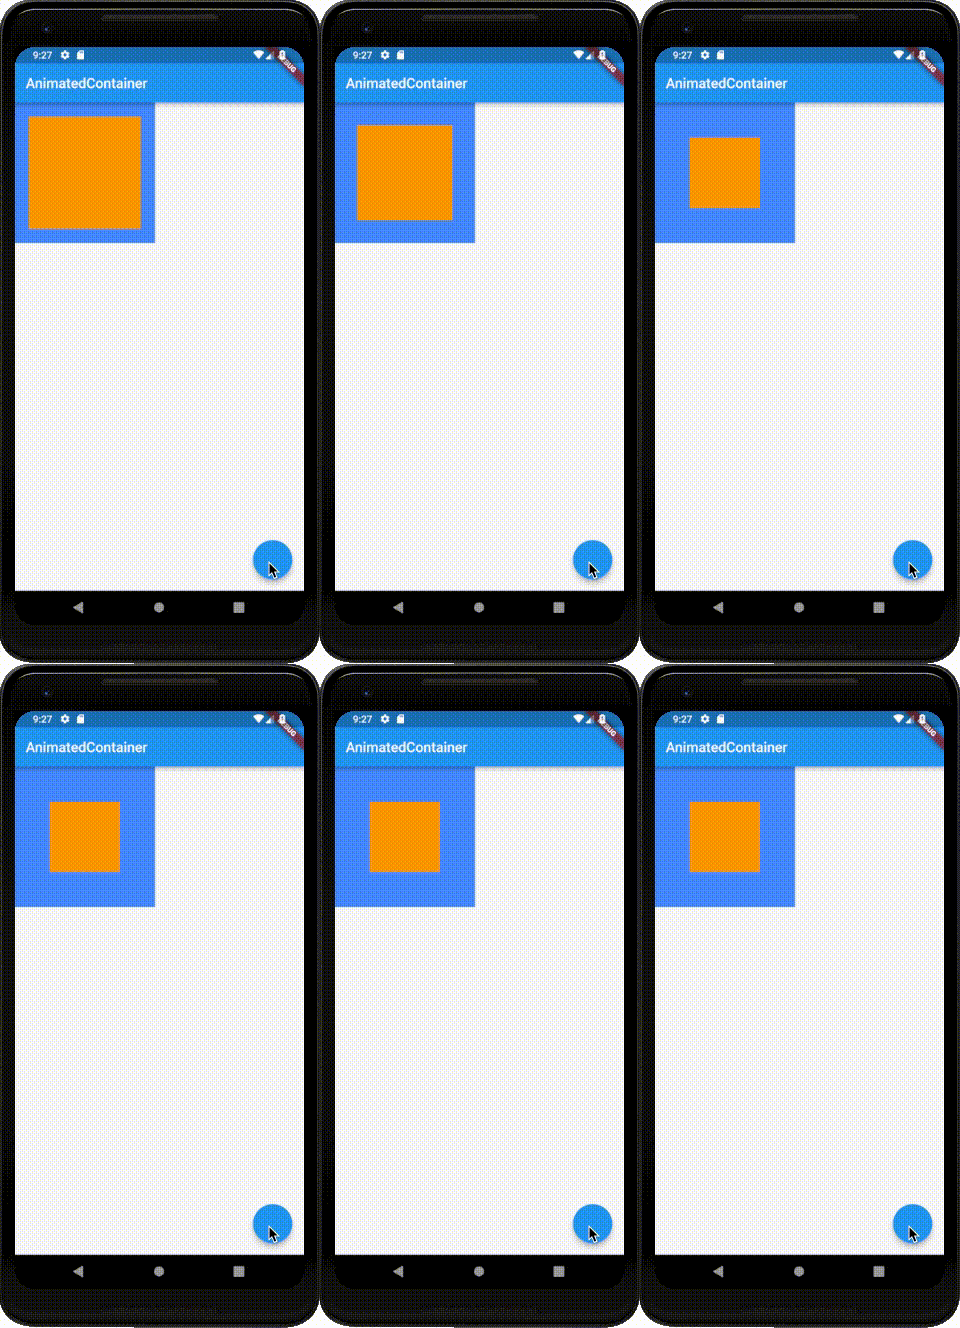
paddingは子要素に対するPaddingを設定します。
「AnimatedContainer」のpaddingを動的に変更することで、Paddingを領域を変更するアニメーションを作成できます。
画面右下の「FloatingActionButton」を押すと、_onTapが動作し、Paddingのサイズが20から50に代わり子要素が小さくなった変更されたのがわかると思います。。
Margin
Marginの変更は以下のように行います。
class _MainPageState extends State<MainPage> {

  double _margin = 20;

  void _onTap() => setState(() => _margin = 50);

  Widget build(BuildContext context) {
    return Scaffold(
      appBar: AppBar(
        title: const Text('AnimatedContainer'),
      ),
      body: AnimatedContainer(
        width: 200,
        height: 200,
        color: Colors.blueAccent,
        margin: EdgeInsets.all(_margin),
        duration: Duration(seconds: 1),
      ),
      floatingActionButton: FloatingActionButton(onPressed: _onTap),
    );
  }
}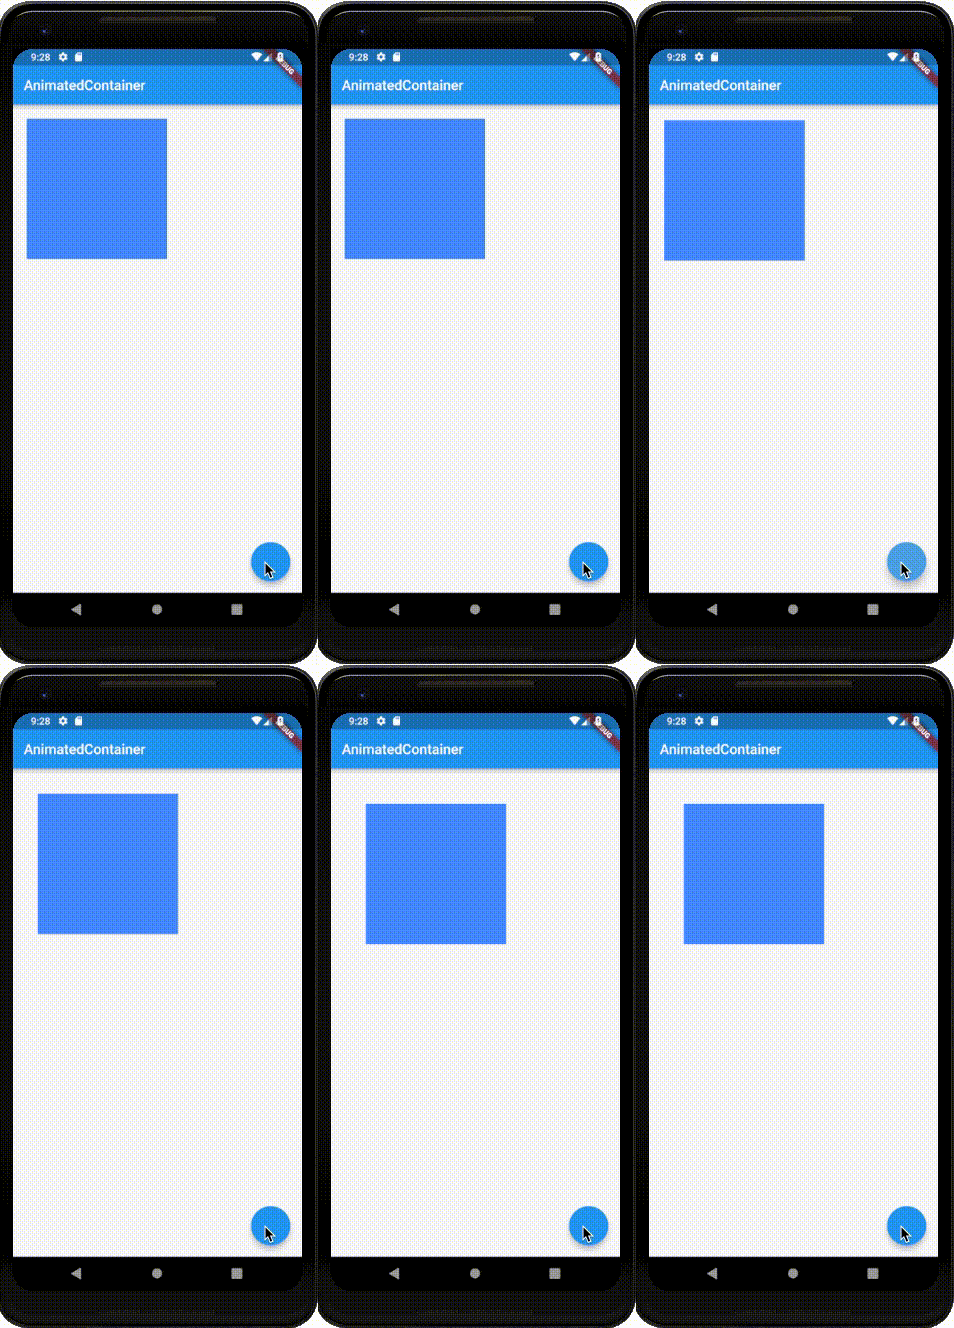
marginはMarginを設定します。
「AnimatedContainer」のmarginを動的に変更することで、Margin領域を変更アニメーションを作成できます
画面右下の「FloatingActionButton」を押すと、_onTapが動作し、Marginのサイズが20から50に代わり「AnimatedContainer」の位置が変更されたのがわかると思います。。
軸の回転(rotation)
回転は以下のように行います。
class _MainPageState extends State<MainPage> {

  double _radians = 0;

  void _onTap() => setState(() => _radians = 45);

  Widget build(BuildContext context) {
    return Scaffold(
      appBar: AppBar(
        title: const Text('AnimatedContainer'),
      ),
      body: Center(
        child: AnimatedContainer(
          width: 200,
          height: 200,
          duration: Duration(seconds: 1),
          child: Image.asset("assets/img/pic0.png", fit: BoxFit.cover),
          transform: Matrix4.rotationX(_radians),
        ),
      ),
      floatingActionButton: FloatingActionButton(onPressed: _onTap),
    );
  }
}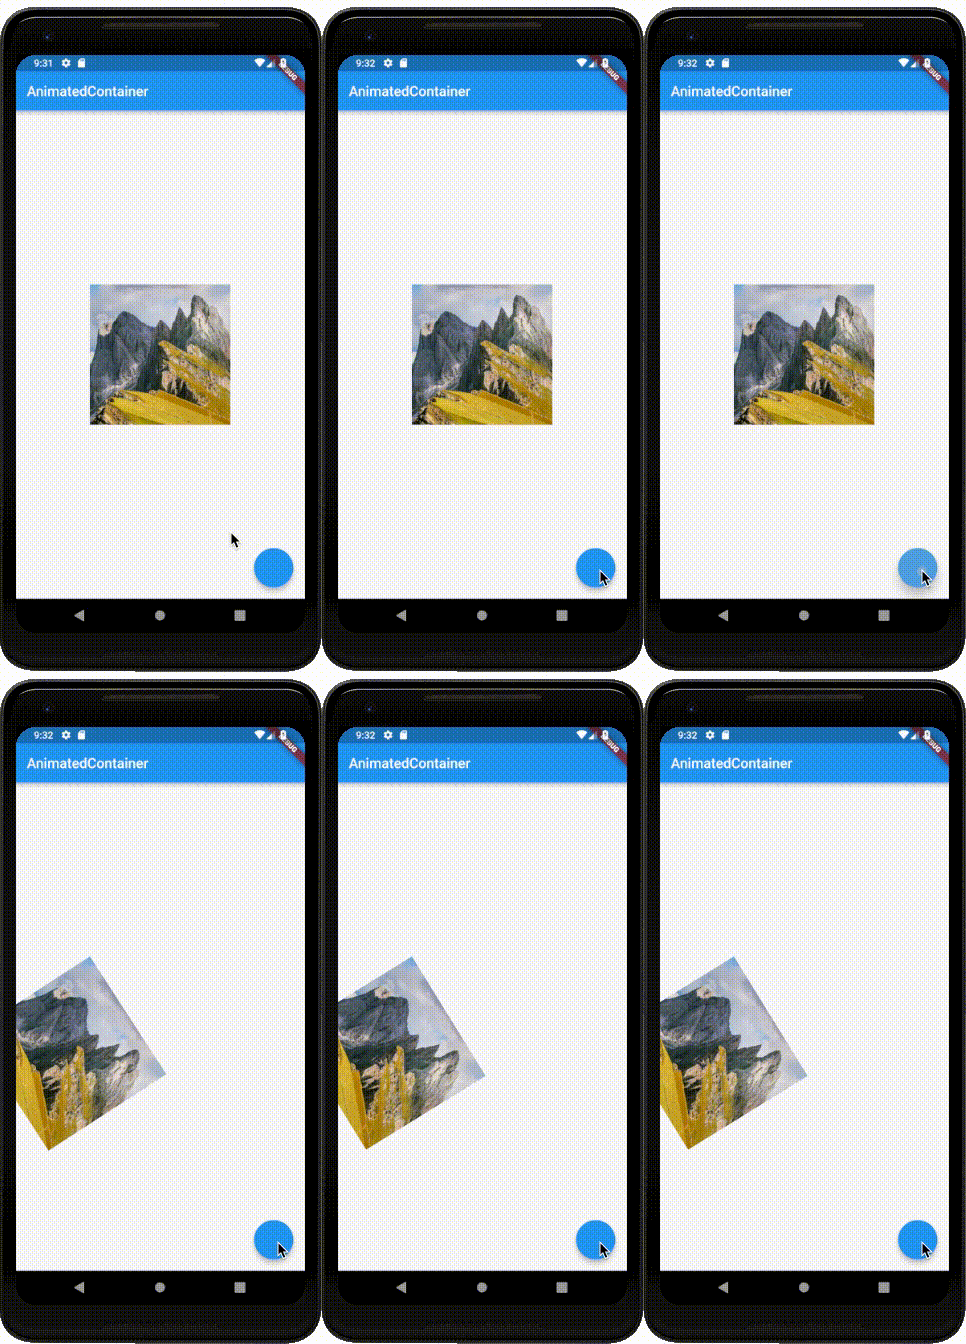
transformは変形を意味しておりいくつかの変形方法を提供しています。
今回は回転をみていきましょう。Matrix4.rotationを使って制御していきます。
「AnimatedContainer」のtransformに対して以下いずれかを動的に変更することで、要素を回転させるアニメーションを作成できます。
Matrix4.rotationXMatrix4.rotationYMatrix4.rotationZ
画面右下の「FloatingActionButton」を押すと、_onTapが動作し、X軸に対してが0から45に変えることで。X軸方向へ回転しています。
rotationのX,Y,Zは以下のようなイメージとなります。

移動(translation)
移動は以下のように行います。
class _MainPageState extends State<MainPage> {

  double _p = 0;

  void _onTap() => setState(() => _p = 100);

  Widget build(BuildContext context) {
    return Scaffold(
      appBar: AppBar(
        title: const Text('AnimatedContainer'),
      ),
      body: AnimatedContainer(
        width: 200,
        height: 200,
        color: Colors.blueAccent,
        duration: Duration(seconds: 1),
        transform: Matrix4.translationValues(_p, _p, 0)
      ),
      floatingActionButton: FloatingActionButton(onPressed: _onTap),
    );
  }
}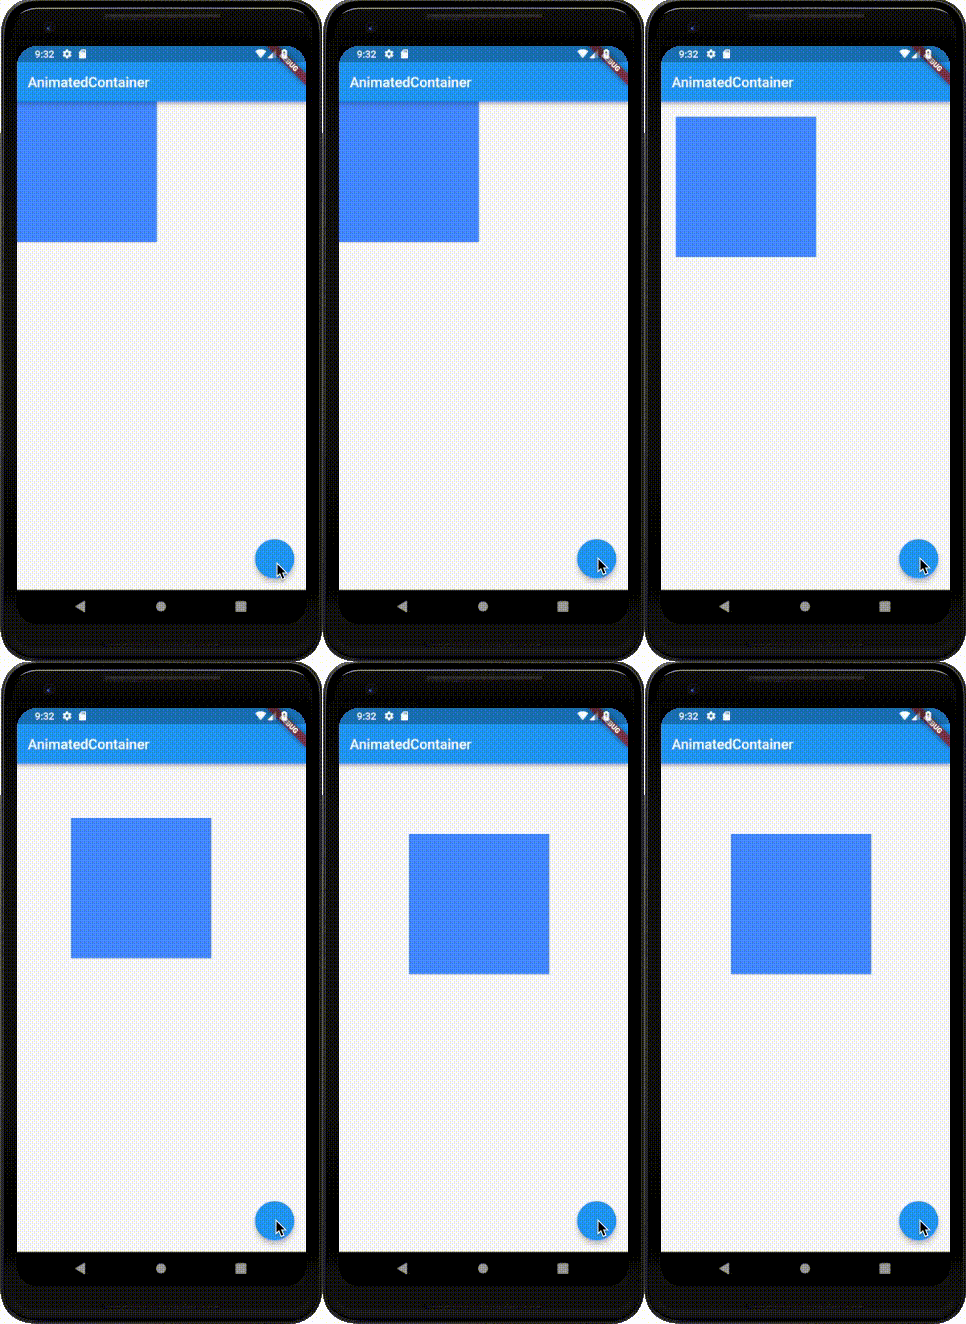
transformは変形を意味しておりいくつかの変形方法を提供しています。
今回は移動をみていきましょう。Matrix4.translationValuesを使って制御していきます。
「AnimatedContainer」のtransformに対してMatrix4.translationValuesを動的に変更することで、要素を移動させるアニメーションを作成できます。
translationValuesは引数としてX,Y,Z座標を受け取れるので、それぞれ移動したい位置へ動的に変更して利用します。
拡大縮小(Scale)
拡大縮小は以下のように行います。
class _MainPageState extends State<MainPage> {

  double _p = 1;

  void _onTap() => setState(() => _p = 1.5);

  Widget build(BuildContext context) {
    return Scaffold(
      appBar: AppBar(
        title: const Text('AnimatedContainer'),
      ),
      body: AnimatedContainer(
          width: 200,
          height: 200,
          color: Colors.blueAccent,
          duration: Duration(seconds: 1),
          transform: Matrix4.diagonal3Values(_p, _p, 1)
      ),
      floatingActionButton: FloatingActionButton(onPressed: _onTap),
    );
  }
}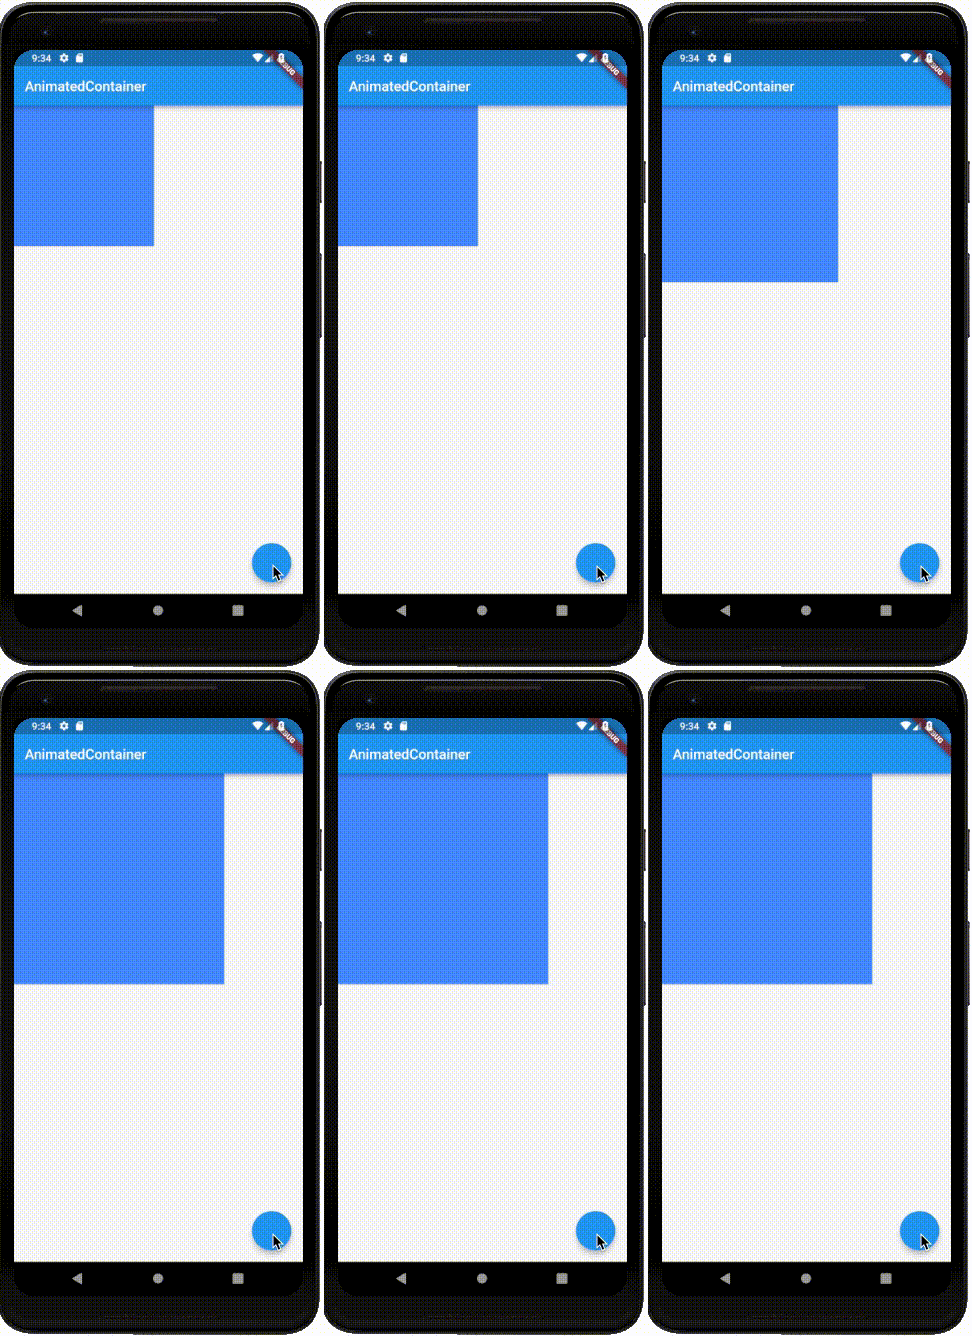
transformは変形を意味しておりいくつかの変形方法を提供しています。
今回は拡大縮小をみていきましょう。Matrix4.diagonal3Valuesを使って制御していきます。
「AnimatedContainer」のtransformに対してMatrix4.diagonal3Valuesを動的に変更することで、要素を拡大または縮小させるアニメーションを作成できます。diagonal3Valuesは引数としてX,Y,Z軸の比率を受け取れるので、それぞれ拡大、または縮小したい比率を動的に変更して利用します。


