ダイアログ・アラート
ダイアログ
SimpleDialogとAlertDialogの作成方法について解説していきます。
お知らせや、注意喚起、メニューなど様々な用途で使うウィジェットで簡単に作成できます。
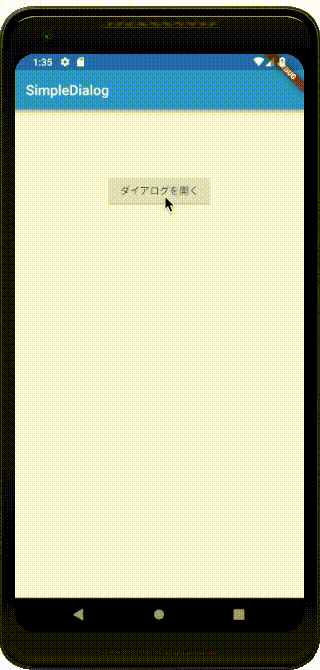
SimpleDialog
シンプルダイアログはその名の通りシンプルなダイアログを実装できるので一つずつ見ていきましょう。
enum Answers{
  YES,
  NO
}
class _MainPageState extends State<MainPage> {

  String _value = '';

  void _setValue(String value) => setState(() => _value = value);

  @override
  Widget build(BuildContext context) {
    return new Container(
      padding: new EdgeInsets.all(32.0),
      child: new Center(
        child: new Column(
          children: <Widget>[
            new Text(_value, style: TextStyle(fontSize: 50, color: Colors.blueAccent, fontWeight: FontWeight.w600),),
            new RaisedButton(onPressed: () {openDialog(context);}, child: new Text('ダイアログを開く'),)
          ],
        ),
      ),
    );
  }

  void openDialog(BuildContext context) {
      showDialog<Answers>(
        context: context,
        builder: (BuildContext context) => new SimpleDialog(
          title: new Text('SimpleDialog'),
          children: <Widget>[
            createDialogOption(context, Answers.YES, 'Yes'),
            createDialogOption(context, Answers.NO, 'No')
          ],
        ),
      ).then((value) {
        switch(value) {
        case Answers.YES:
        _setValue('Yes');
        break;
        case Answers.NO:
        _setValue('No');
        break;
        }
      });
  }


  createDialogOption(BuildContext context, Answers answer, String str) {
    return new SimpleDialogOption(child: new Text(str),onPressed: (){Navigator.pop(context, answer);},);
  }
}
まずは非同期のメソッドを作成します。
  Future _showDialog() async {
  }
次にダイアログを作成して、表示する内容を設定します。
  await showDialog<Answers>(
    context: context,
    builder: (BuildContext context) =>
)showDialogにはchildプロパティもあるのですが、これは非推奨(Deprecated)となっているので、Builderで作成してください。
今回はSimpleDialogで作成します。
new SimpleDialog(
  title: new Text('SimpleDialog'),
  children: <Widget>[
    new SimpleDialogOption(child: new Text('Yes'),onPressed: (){Navigator.pop(context, Answers.YES);},),
    new SimpleDialogOption(child: new Text('NO'),onPressed: (){Navigator.pop(context, Answers.NO);},),
  ],
),titlePaddingやcontentPaddingでレイアウトをいじることも可能です。
上の例ではtitleとchildrenでそれぞれ設問と解答を用意しています。
  children: <Widget>[
    new SimpleDialogOption(child: new Text('Yes'),onPressed: (){Navigator.pop(context, Answers.YES);},),
    new SimpleDialogOption(child: new Text('NO'),onPressed: (){Navigator.pop(context, Answers.NO);},),
],見てわかる通りchildrenは配列を受け取れるため、SimpleDialogOptionを複数配置してボタンを用意することが可能です。
new SimpleDialogOption(child: new Text('Yes'),onPressed: (){Navigator.pop(context, Answers.YES);},),Navigator.popは、ダイアログを閉じるために使います。
ちなみにNavigator.pushは遷移を進める時、Navigator.popは遷移を戻る時に利用する機能です。
これにより、表示したダイアログを戻し、第2引数に書かれている値を選択した時に戻り値として返します。
var value = await showDialog(
);
switch(value) {
  case Answers.YES:
    _setValue('Yes');
    break;
  case Answers.NO:
    _setValue('NO');
    break;
}すると選択された値がswitch文で評価され、caseによって処理を分岐しています。
このように簡単にダイアログ表示ができるのがSimpleDialogです。
今回はasyncを使ってダイアログ処理をしましたが以下のようにthenを使って書くこともできます。
  void _showDialog() {
    showDialog(
      context: context,
      builder: (BuildContext context) => new SimpleDialog(
        title: new Text('SimpleDialog'),
        children: <Widget>[
          new SimpleDialogOption(child: new Text('Yes'),onPressed: (){Navigator.pop(context, Answers.YES);},),
          new SimpleDialogOption(child: new Text('NO'),onPressed: (){Navigator.pop(context, Answers.NO);},),
        ],
      )
    ).then<void>((value) {
      switch(value) {
      case Answers.YES:
      _setValue('Yes');
      break;
      case Answers.NO:
      _setValue('NO');
      break;
      }
    });
}Dartでの非同期処理にはthenで書く方式とasync/awaitで書く方式があるので必要に応じて使い分けてください。
個人的な感想ですが、本格的に非同期を多用する場合はasync/awaitをうまく使うことでネストを減らし可読性の高いコードがかけると思います。
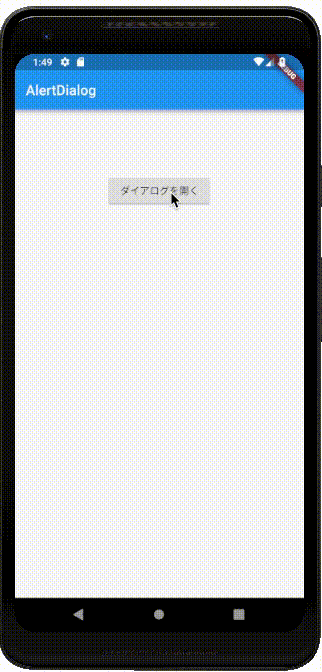
AlertDialog
アラートダイアログは以下のように実装できます。
enum Answers{
  YES,
  NO
}

class _MainPageState extends State<MainPage> {

  String _value = '';

  void _setValue(String value) => setState(() => _value = value);

  Future _showDialog() async {
    var value = await showDialog(
      context: context,
      builder: (BuildContext context) => new AlertDialog(
        title: new Text('AlertDialog'),
        content: new Text('アラートダイアログです。YesかNoを選択してください。'),
        actions: <Widget>[
          new SimpleDialogOption(child: new Text('Yes'),onPressed: (){Navigator.pop(context, Answers.YES);},),
          new SimpleDialogOption(child: new Text('NO'),onPressed: (){Navigator.pop(context, Answers.NO);},),
        ],
      ),
    );
    switch(value) {
      case Answers.YES:
        _setValue('Yes');
        break;
      case Answers.NO:
        _setValue('NO');
        break;
    }
  }

  @override
  Widget build(BuildContext context) {
    return new Scaffold(
      appBar: new AppBar(
        title: new Text('AlertDialog'),
      ),
      body: new Container(
        padding: new EdgeInsets.all(32.0),
        child: new Center(
          child: new Column(
            children: <Widget>[
              new Text(_value, style: TextStyle(fontSize: 50, color: Colors.blueAccent, fontWeight: FontWeight.w600),),
              new RaisedButton(onPressed: _showDialog, child: new Text('ダイアログを開く'),)
            ],
          ),
        ),
      ),
    );
  }
}
SimpleDialogとの違いは、以下の部分です。
新たにcontentによって詳細を定義できるようになったのと、選択するボタンがactionsに変わります。
  builder: (BuildContext context) => new AlertDialog(
    title: new Text('AlertDialog'),
    content: new Text('アラートダイアログです。YesかNoを選択してください。'),
    actions: <Widget>[
      new SimpleDialogOption(child: new Text('Yes'),onPressed: (){Navigator.pop(context, Answers.YES);},),
      new SimpleDialogOption(child: new Text('NO'),onPressed: (){Navigator.pop(context, Answers.NO);},),
    ],
  ),
こちらもSimpleDialogと同じように複数定義することが可能です。 見た目上はSimpleDialog縦に並んでいたのに対して、AlertDialogは横並びになります。